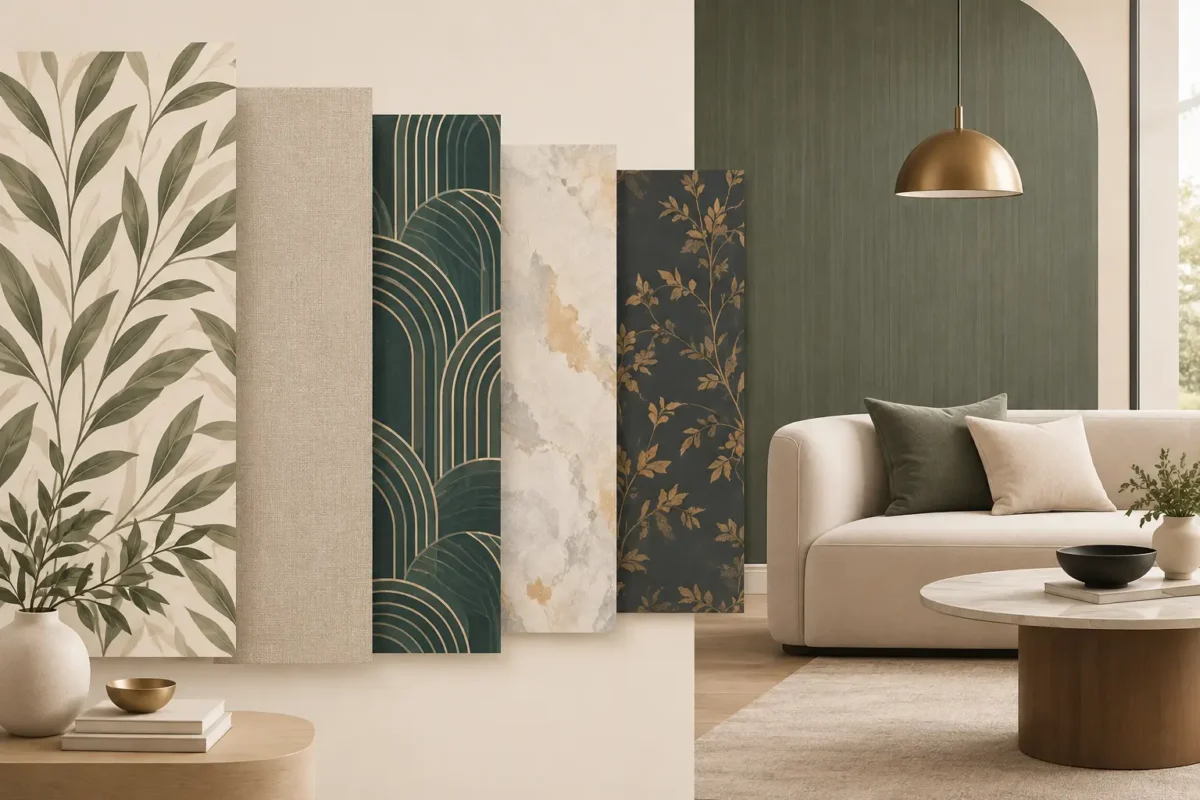
A mural can make an ordinary wall feel architectural, immersive, and entirely personal. But even the most striking artwork depends on one practical detail: proportion. This guide to bespoke mural sizing explains how to measure accurately, account for real-world site conditions, and prepare a mural that arrives ready for a refined installation.
Unlike standard wallpaper, a bespoke mural is created for a specific wall and a specific visual outcome. The design may be scaled to fill the room, cropped around a focal point, extended behind furniture, or aligned to work with doors, windows, and lighting. Correct sizing protects both the artwork and the investment.
A standard wallpaper pattern can repeat across a wall with little concern for where individual motifs land. A mural has a composition. A horizon line, architectural subject, botanical feature, face, logo, or abstract focal area needs to sit in the right place once installed.
That is why mural sizing is not simply a matter of calculating square footage. A wall might measure 144 inches wide by 96 inches high, but the image may have been designed in a different proportion. Enlarging it without considering the artwork can crop key details or distort the composition. A professionally prepared mural file is scaled proportionally, then cropped or extended thoughtfully to suit the site.
The wall itself also has a say. Ceilings are rarely perfectly level, floors can slope, and corners may not be square. In commercial interiors, bulkheads, columns, access panels, sprinkler heads, and built-in joinery create additional variables. Accurate measurements allow the mural to be produced with enough allowance for clean trimming while keeping the visual center exactly where it belongs.
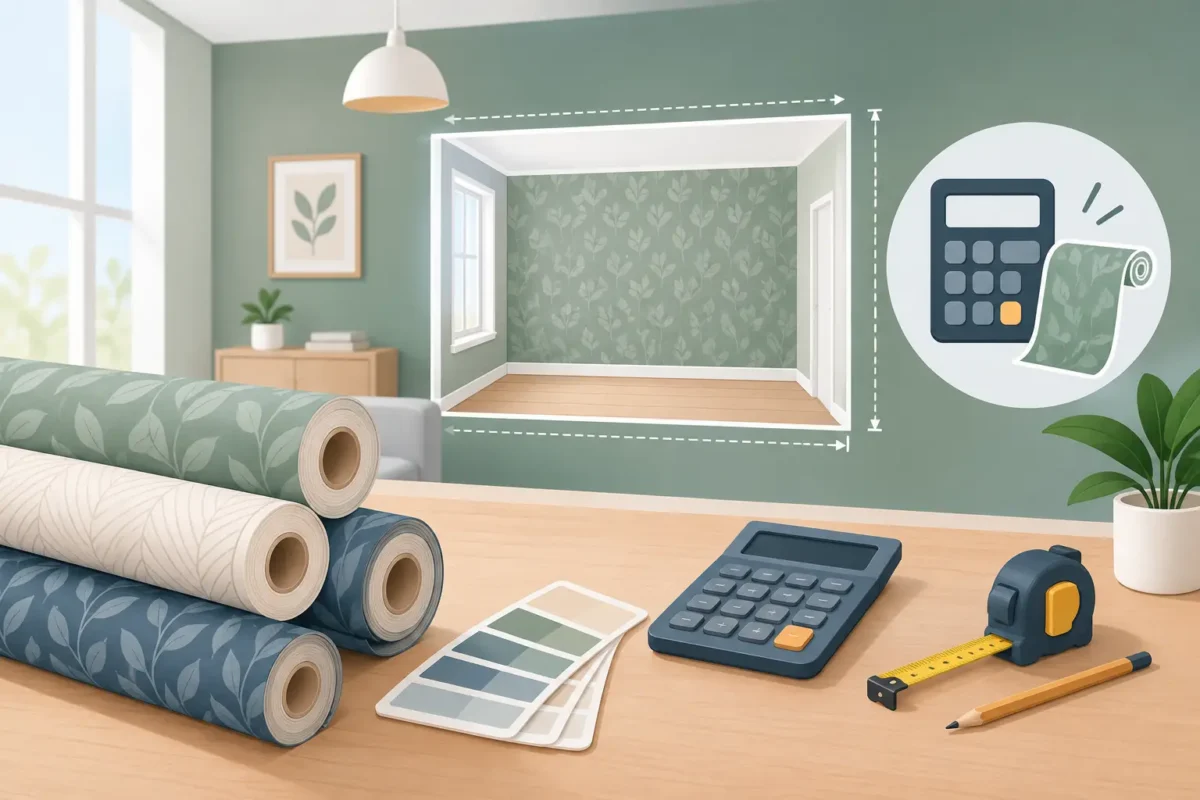
Measure in inches or millimeters, but use one unit consistently throughout the project. A steel tape measure is preferable to a flexible measuring tape, especially on wide walls. For large hospitality, retail, or office projects, laser measurements and a site survey provide added confidence.
Start by measuring the full width of the wall in three places: near the ceiling, at the center, and near the floor. Record the widest measurement. Then measure the height at the left, center, and right sides, recording the tallest point. These measurements reveal variations that a single width and height cannot show.
For a straightforward feature wall, provide the finished wall width and height, then allow an extra 2 to 4 inches on each side for installation trimming. The appropriate allowance depends on the condition of the wall and the precision of the site. Older buildings, uneven plaster, and walls with pronounced ceiling variations generally benefit from more tolerance.
Do not deduct baseboards, crown molding, or small edge trims unless they will be removed before installation. Measuring the full surface behind removable finishing elements gives the installer material to trim neatly into the final line. If a mural will stop above a baseboard or below a ceiling detail, measure to the exact intended stopping point and make that instruction clear.
A good measurement brief captures the wall as it is, not as it appears in a quick photograph. Note the location and dimensions of doors, windows, outlets, switches, air-conditioning grilles, light fixtures, shelving, and wall-mounted screens. Include their distance from the nearest side wall and from the floor or ceiling.
These features do not always need to be cut out during production. In many cases, the mural is installed across the full wall and trimmed around obstacles on site. Still, knowing where they sit is essential for artwork placement. A dramatic flower should not be centered behind a television, and a brand mark should never be interrupted by a door frame or electrical outlet.
Photographs are equally useful. Take one image straight on, plus angled photographs from each side. Include a tape measure in at least one photo for reference. For larger projects, elevations or CAD drawings offer the clearest basis for approval and production.
The best bespoke mural sizing begins with a design decision: what should command attention? On a scenic mural, this may be the skyline, a mountain ridge, or the visual vanishing point. In a botanical composition, it may be a central bloom or a quieter field of foliage. For branded commercial spaces, it is often a logo, tagline, or carefully placed graphic.
Share the intended focal area before final artwork approval. If the mural sits behind a reception desk, bedhead, banquette, or sofa, provide the furniture dimensions and its planned position. This prevents important details from being hidden at the most visible part of the room.
Image proportion matters. A panoramic image placed on a tall, narrow wall will require cropping at the sides, extending the background, or selecting a different composition. A portrait-oriented artwork on a long horizontal wall may need side extensions. Neither approach is automatically better. The right solution depends on whether the artwork has flexible negative space, repeating texture, or a subject that can be cropped without weakening the design.
Avoid stretching an image independently in width or height to make it fit. It may fill the wall, but faces, typography, furniture, and architectural lines can become visibly distorted. Preserving the original aspect ratio produces a more convincing, premium result.
Large murals are normally supplied in numbered panels rather than one oversized sheet. Panel width is determined by the material, printing method, site access, and installation requirements. Each panel is prepared to align accurately with the next, creating a continuous image across the wall.
Seams are part of a professionally installed mural, but they should not compete with the artwork. Where possible, plan seam placement away from highly detailed focal areas, text, faces, or strong geometric lines. For commercial and hospitality interiors, consideration should also be given to high-contact zones, such as behind seating or beside doorways, where the wall may receive more wear.
Installation direction also matters. Most murals are hung from left to right, though the sequence may vary with the artwork, access, and wall condition. Confirm where the first panel begins, particularly when a key element must align with a return wall, millwork edge, or central furniture piece.
If the mural wraps around a corner, measure every wall section separately. Do not assume the corner is square or that two walls share the same height. A wrapped design can look exceptional, but it requires careful planning so the image transitions naturally around the corner rather than appearing abruptly cut.
Sizing and material selection should be considered together. A refined residential bedroom may call for a smooth matte finish that enhances tonal artwork and soft detail. A restaurant, hotel corridor, clinic, office, or retail environment may benefit from commercial-grade wallcovering selected for durability, cleanability, and project requirements.
Fabric-backed commercial wallcoverings can be especially suitable for demanding interiors where performance matters as much as visual impact. Depending on the specification, considerations may include fire performance, moisture resistance, surface washability, and compatibility with the existing substrate. The wallcovering must also be matched to the adhesive system and installation method.
Wall condition affects the finished look. Freshly painted walls should be fully cured. Uneven surfaces, loose paint, cracks, moisture issues, and unprimed drywall should be addressed before the mural arrives. A beautiful print cannot conceal poor substrate preparation, particularly under directional lighting that can reveal every ridge and seam.
Before production, review a final sizing sheet or artwork proof that confirms the overall dimensions, finished visible area, trim allowance, crop, focal point, panel layout, and material. This is the point to check spelling, logo positioning, color intent, and the location of doors or fixed furniture.
For custom designs, image quality must also be assessed at final scale. A file that appears sharp on a laptop may not hold up across a 12-foot wall. High-resolution source artwork, professionally prepared graphics, and advanced printing technology help preserve clarity, color depth, and fine detail at mural scale.
It is wise to treat approval as a construction document rather than a casual visual reference. Once a bespoke mural has been printed to size, changes to the wall dimensions or artwork crop may require a full reprint. Clear approval protects timelines, budgets, and the integrity of the final interior.
At Decorating Depot, mural projects are approached as both a design feature and a technical finish. The result should feel effortless on the wall because the measuring, scaling, material selection, and installation planning were handled with discipline behind the scenes.
A bespoke mural earns its impact when the artwork appears made for the room, not merely placed on it. Measure the wall carefully, give the design room to breathe, and let the final composition guide every sizing decision.