A statement wall can be specified in minutes and compromised in a single afternoon. A visible seam, poor pattern match, bubbling corner, or unsuitable adhesive can diminish even the most refined wallcovering. This guide to wallpaper installation standards sets out the decisions that protect the finish, whether the project is a private residence, boutique retail space, executive office, or high-traffic hotel interior.
Wallpaper installation is not governed by one universal rulebook. The applicable standard is a combination of the wallcovering manufacturer’s instructions, adhesive requirements, substrate conditions, project specifications, and local building or fire-safety requirements. The common objective is clear: a clean, aligned, durable surface that performs as beautifully as it looks.
Installation quality begins before the installer opens a roll. The wallcovering must suit the room, the wall condition, and the expected level of wear. A delicate paper-based design may be ideal for a low-traffic bedroom, while a fabric-backed commercial wallcovering is often the more dependable choice for corridors, reception areas, restaurants, and hospitality settings.
Consider cleanability, impact resistance, moisture exposure, lightfastness, and fire-performance requirements at the specification stage. For commercial and hospitality projects, confirm the required fire classification with the project team and local authority before ordering. A product that is visually right but does not meet the project requirement creates avoidable delays and replacement costs.
Material width and pattern repeat also matter. Wide-width commercial goods can reduce the number of seams, but they require experienced handling and accurate planning. Large-scale murals demand careful panel numbering, image approval, and a clear decision about where the composition will begin and end. Custom printed wallpaper should be approved from a final proof, particularly when brand colors, artwork, or architectural dimensions are central to the design.
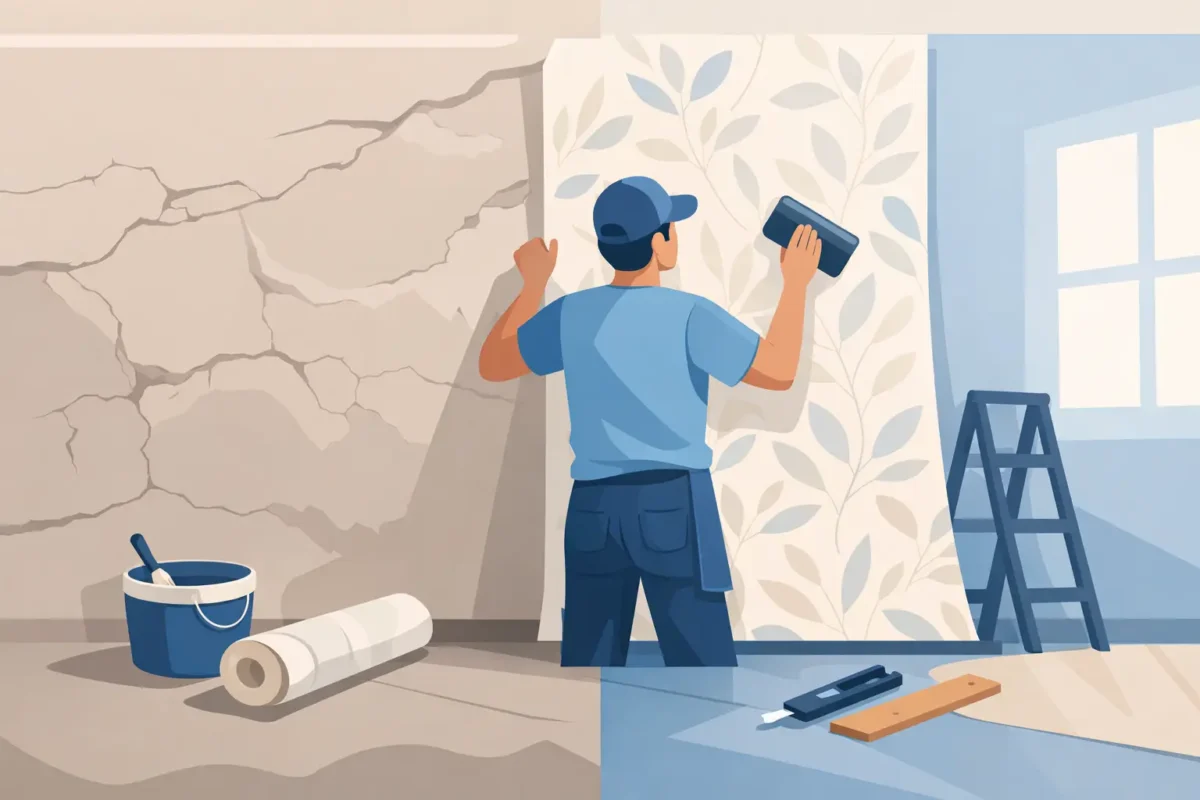
A premium wallcovering cannot conceal an unstable, damp, dirty, or poorly repaired wall. In fact, smooth finishes and directional lighting often make surface defects more noticeable. Preparation is therefore not an optional preliminary task. It is the foundation of a flawless result.
The substrate should be dry, sound, smooth, clean, and free of contaminants. Remove loose paint, old adhesive, dust, grease, mold, and any residue that may interfere with bonding. Cracks, dents, and uneven areas should be properly filled, sanded, and sealed. Fresh plaster, joint compound, or paint must be fully cured according to the product manufacturer’s guidance before wallpaper is installed.
Moisture deserves particular attention. Wallpaper should never be used to cover an active leak, rising damp, condensation problem, or mold issue. Resolve the source first. In bathrooms, kitchens, and other humid environments, the material selection and ventilation strategy must be assessed together. Some wallcoverings are suitable for occasional humidity; that does not make them appropriate for direct water exposure or persistently damp walls.
A primer or wallcovering liner may be required to create a uniform surface, improve slip during installation, and support future removal. The correct system depends on the wall construction, finish, and chosen adhesive. Skipping this step to save time can result in uneven absorption, weak adhesion, or damage to the wall when the covering is eventually replaced.
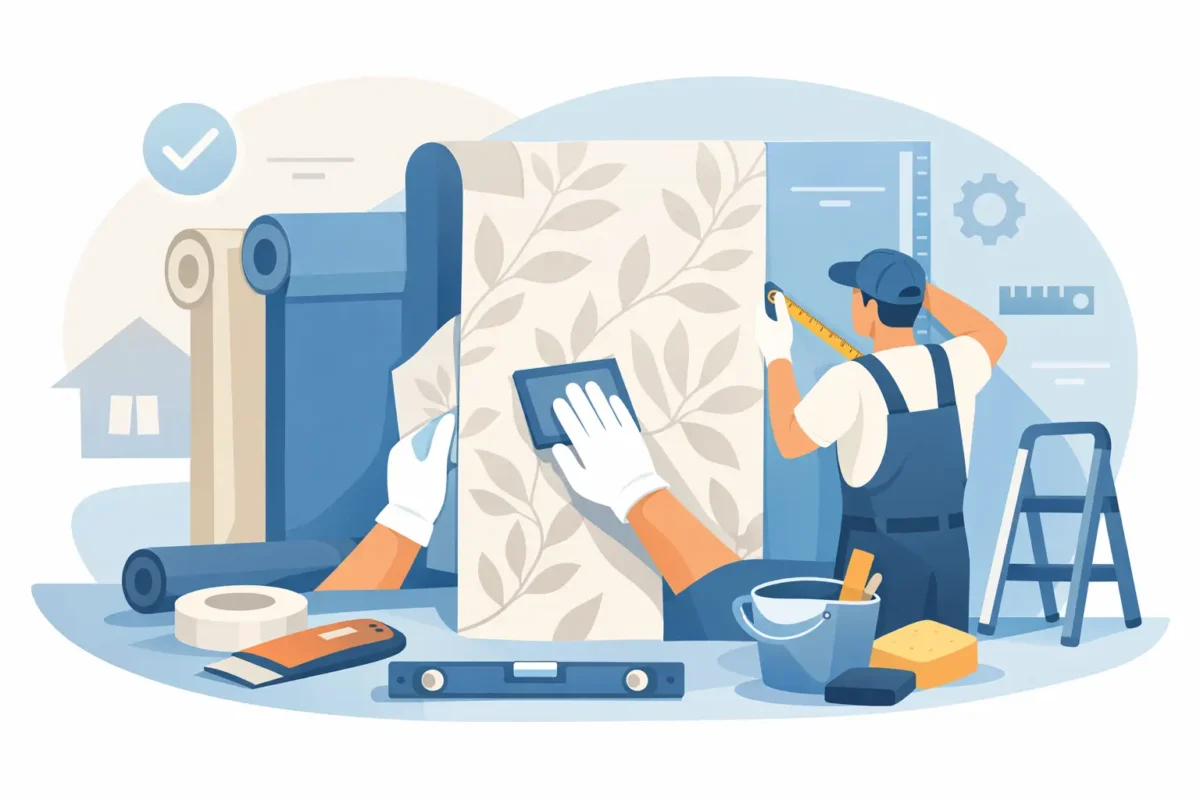
Professional installation standards include a site inspection, not simply a measurement. The installer should check wall moisture, substrate integrity, access, lighting, ceiling and floor lines, and obstructions such as outlets, air-conditioning grilles, signage, and built-in joinery.
The room should be clean and protected from excessive drafts, extreme temperatures, and sudden humidity changes while work is underway. These conditions affect adhesive open time and drying behavior. For an occupied commercial space, coordination also matters: install after wet trades, dusty cutting, and major ceiling work are complete whenever possible.
Wallpaper is installed to visual lines, not blindly to a wall edge that may be out of level. The first drop establishes the installation. It should be set from a true plumb line so every subsequent panel remains vertical, even if an adjacent door frame or ceiling line is imperfect.
Before cutting, professionals review the pattern repeat, roll batch, panel sequence, and focal points. This is especially important with botanicals, geometrics, textured designs, and murals. A pattern that is technically matched but awkwardly centered above a headboard, reception desk, or feature wall can still feel wrong.
For murals, dry-lay planning is essential. Confirm the panel order and inspect the image before adhesive is applied. Decide where the mural should align with architectural features, then allow for trimming at ceilings, baseboards, and corners. Walls are rarely perfectly square, so a mural may need a controlled visual adjustment rather than equal trimming at every edge.
Seams should be planned away from the most prominent sightlines when practical. Avoid placing them directly at outside corners, beside strong light sources, or through a key part of a face, logo, or artwork. On commercial jobs, the layout should also consider future repair: keeping a small amount of matching material from the same production batch is a practical safeguard.
The adhesive must be compatible with both the wallcovering backing and the prepared substrate. This is not a place for substitution. A paste suitable for lightweight residential paper may not provide the working time or bond strength required for a heavy vinyl or fabric-backed commercial product.
Follow the manufacturer’s instructions for adhesive type, dilution, coverage, booking time where applicable, and application method. Some materials are pasted on the back, while others are paste-the-wall products. Non-woven backings often offer easier handling and cleaner removal, but they still require a properly primed wall and consistent adhesive coverage.
Apply adhesive evenly, including at edges, without excessive buildup that could stain the face or force paste through the seams. Each strip should be positioned carefully, then smoothed from the center outward with the appropriate tool for the material. Excessive pressure can bruise textured surfaces or squeeze adhesive from the joints.
A well-installed seam is tight and aligned, but not overlapped or forcibly compressed. Overworking seams can create shiny marks, lifted edges, or visible distortion once the material dries. Wipe away adhesive immediately using the cleaning method approved for that specific finish. Matte, metallic, natural-fiber, and digitally printed surfaces may need more delicate handling than washable vinyls.
Installation should be inspected in normal room lighting and, where relevant, under the directional lighting used in the finished space. A close-up inspection alone is not enough. Step back and assess the wall as an occupant or guest will see it.
Before project handover, check these five areas:
Minor bubbles can occasionally settle as adhesive cures, depending on the material and system used. They should not be punctured casually. The installer should assess the cause first, since trapped air, insufficient adhesive, wall contamination, and moisture can require different remedies.
The final standard is long-term care. Use the cleaning method recommended for the wallcovering, beginning with the gentlest approach. Many commercial vinyl surfaces tolerate wiping with a soft damp cloth and mild soap solution, while specialty papers, textiles, metallic finishes, and custom prints may require dry cleaning methods or very limited moisture.
Avoid abrasive pads, harsh solvents, and unapproved disinfectants, even in commercial settings. These can alter sheen, remove protective coatings, or affect printed color. Where walls are exposed to frequent contact, specify a material built for that use rather than relying on aggressive cleaning later.
For high-value interiors, installation is part of the design, not an afterthought. When material, wall preparation, layout, and workmanship are considered as one system, the result has the precision expected of a premium surface – and the staying power to match.